
 Tiếng Việt
 English
 한국어
 简体中文
 繁體中文
 Русский
Grand World Phu Quoc Photography Tips - The Complete A-Z Guide 2026
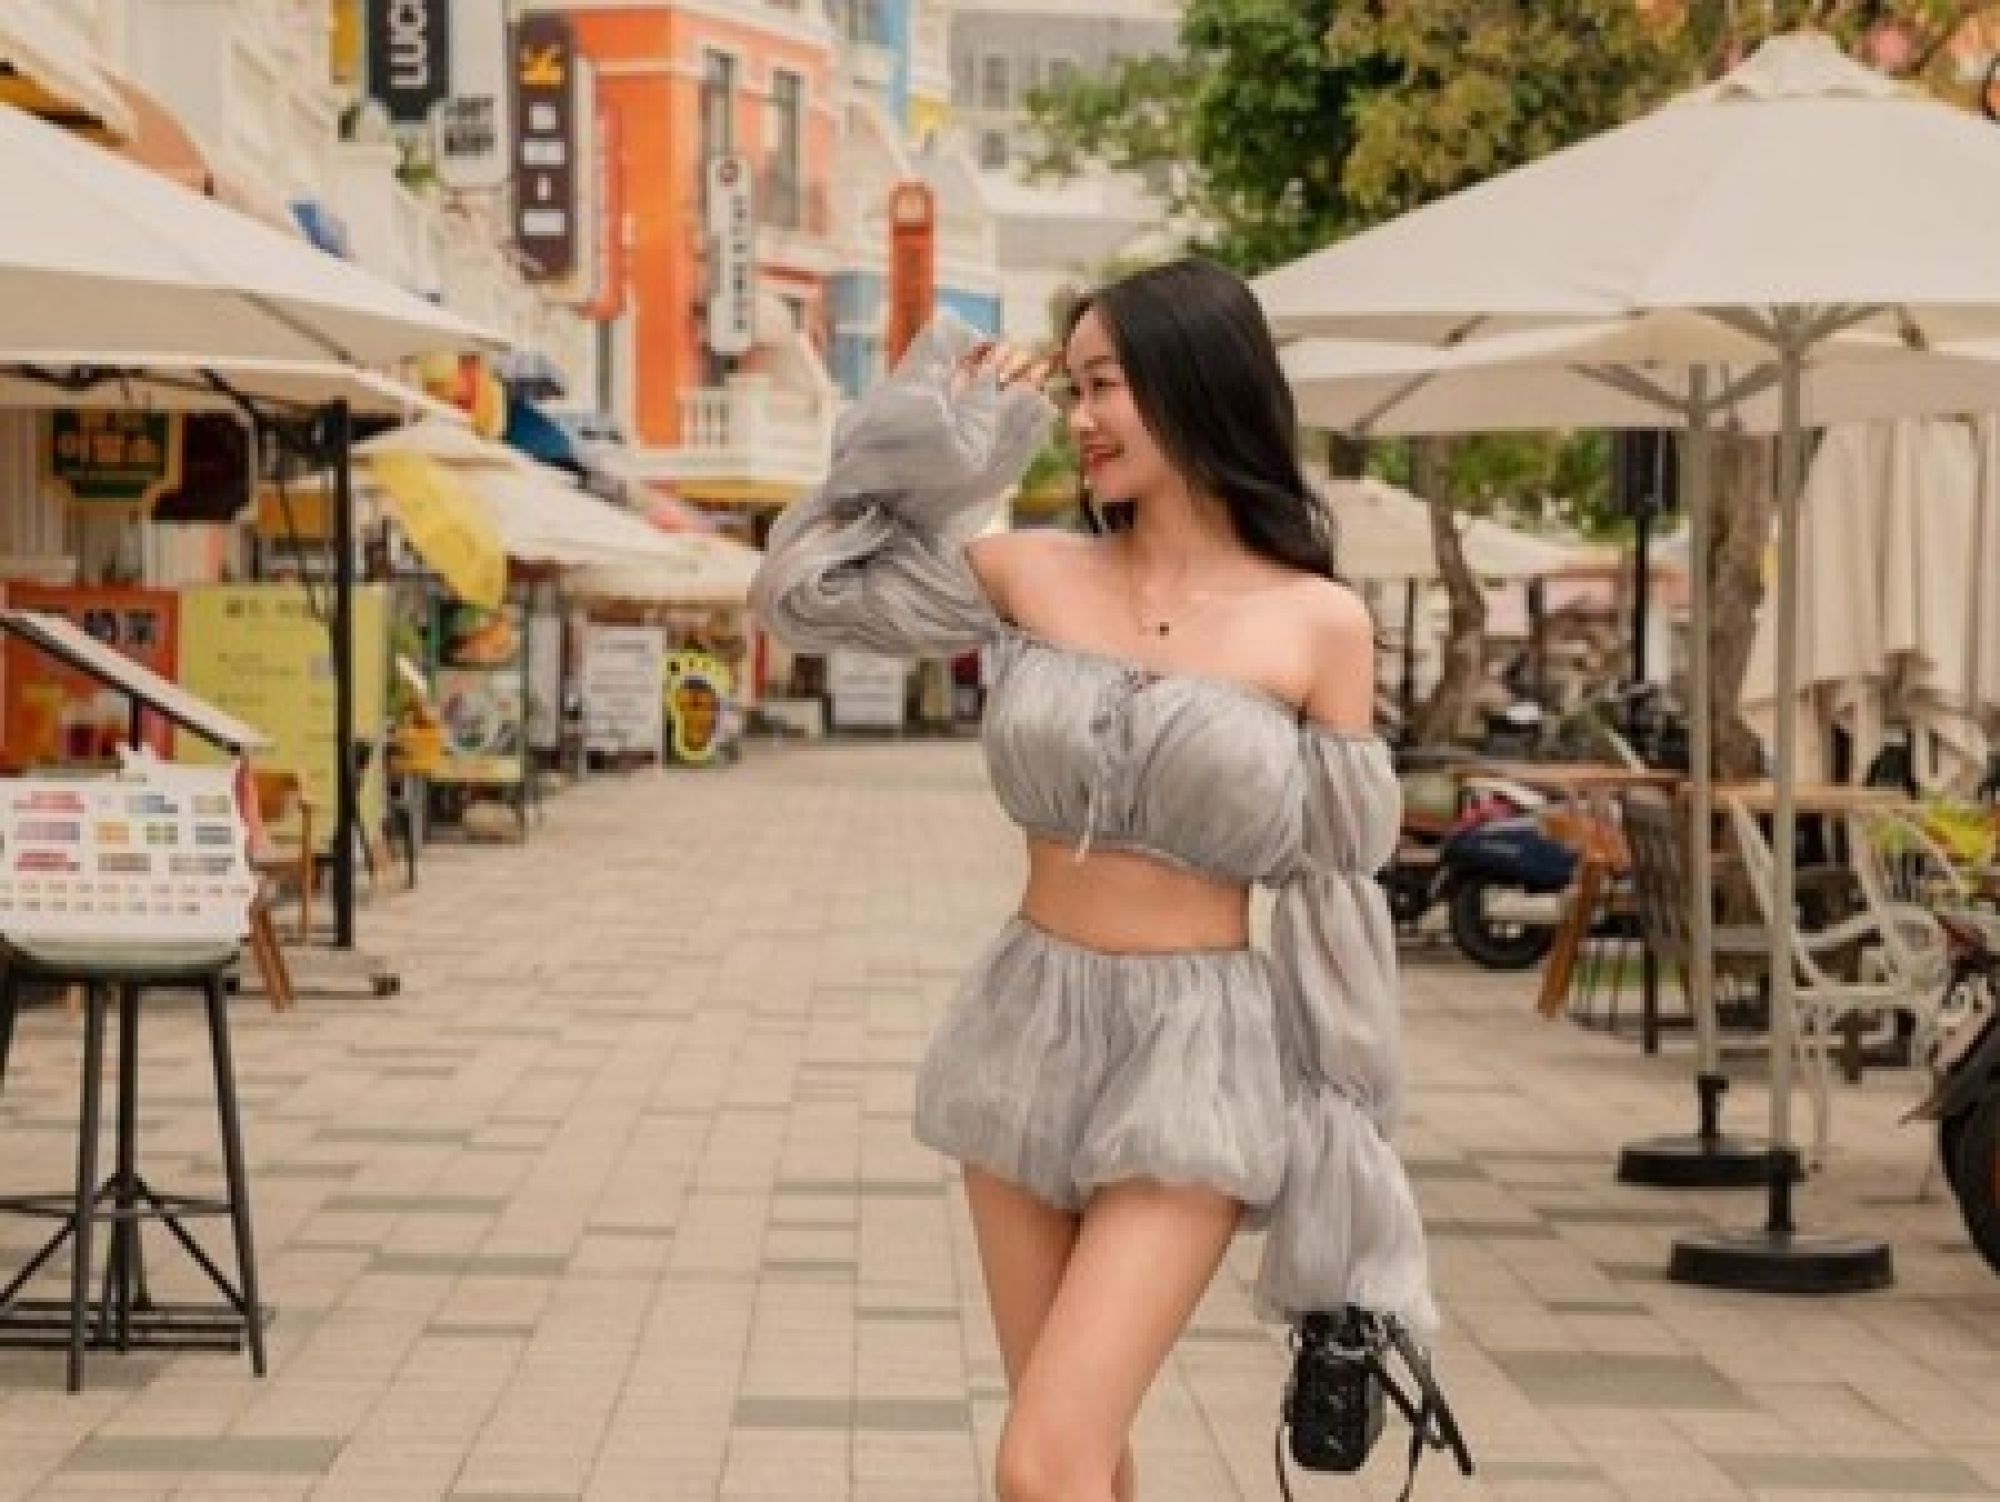
Billed as Phu Quoc's "city that never sleeps", Grand World is packed with photogenic spots, from the Venice canal and arched bridges to striking architecture and colourful streets.
However, like the other parks and attractions in the north of Phu Quoc island, Grand World covers a huge area, so a little planning goes a long way. Sorting out your timing, outfits, poses, camera angles and gear in advance will save you time walking around and deciding what to shoot.
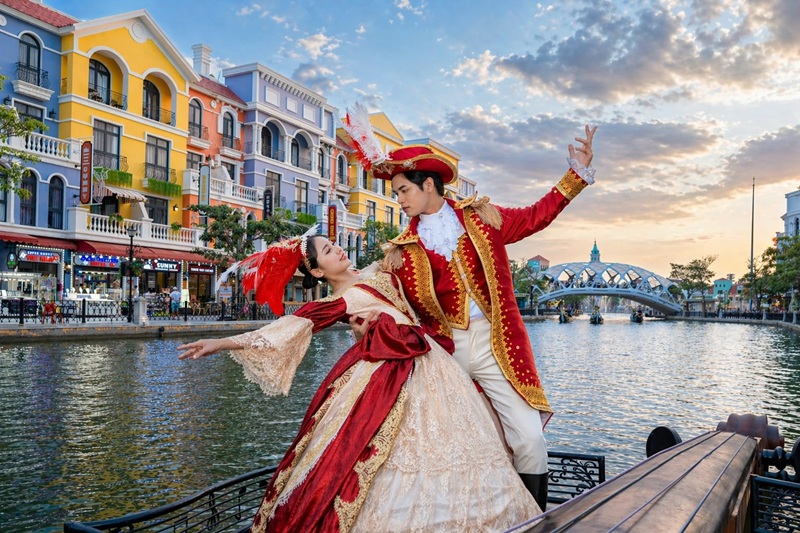
Photography tips for Grand World (Source: Collected).
You don't need a professional photographer. The Grand World photography tips below, along with these handy tips for travelling in Phu Quoc, will help you come home with photos you truly love.
Step 1: Pick the right time to shoot
Much of Grand World is outdoors, so timing and light have a big impact on your photos. Bright daylight doesn't automatically mean easy shooting: harsh midday sun can cast shadows on faces, make it hard to keep your eyes open, or blow out the highlights.
Aim for two time slots: 7:00 - 10:00 and 16:00 - 18:00. The light during these hours is soft and gentle, perfect for shooting outdoors in every corner without fuss.
Morning shoots (07:00 - 10:00)
Mornings are ideal for capturing the big outdoor buildings and architecture. There are usually fewer visitors than at peak times, so you'll have more space to try out different angles without waiting for people to pass.
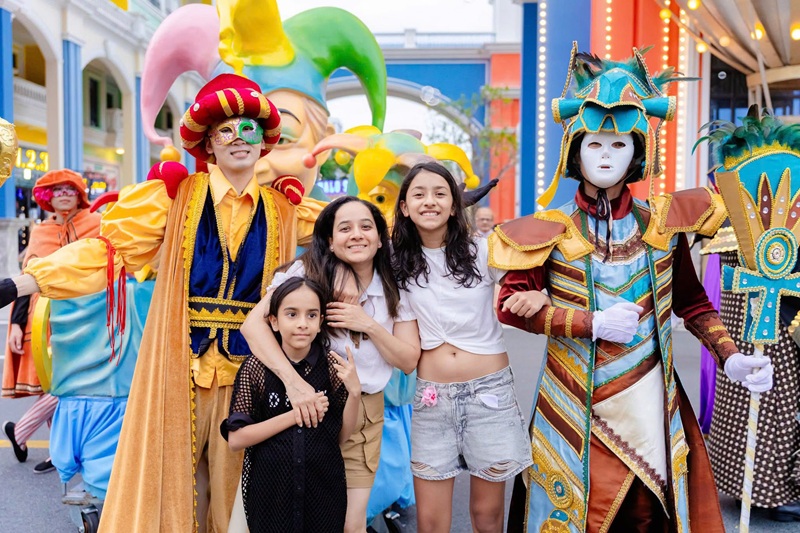
Daytime shoots give you plenty of light (Source: Collected).
From around 9:30 or 10:00 onwards, the sun usually gets stronger and harsher. Avoid standing in direct sunlight for too long, as it can leave you tired, sweaty and at risk of sunstroke. Look for shaded spots or indoor spaces, or use midday for lunch and a rest.
If you're spending the whole day shooting, make sure to take a break and recharge so you have the energy to keep going.
Shooting from 16:00 to 18:00
This is one of the best windows for outdoor photos at Grand World. You won't feel hot or uncomfortable in the sun; in fact, you can use the light to add a romantic touch, whether you're shooting solo or as a couple.
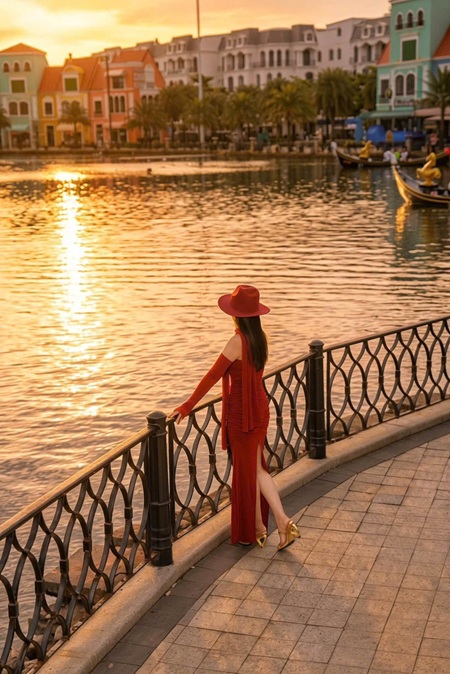
Don't miss the sunset at this time. Head to the arched bridge or Grand World beach to capture stunning sunset shots.

Catching the sunset at Grand World in the afternoon.
Shooting at night
Once Grand World lights up, the streets, signs and Venice area take on a completely different look from the daytime.
The biggest drawback at this hour is that many areas are dim or poorly lit. If you don't make the most of the surrounding light, you'll spend a lot of time editing afterwards.
Find spots near shops, signs, streetlights or the Shanghai gate, which glow brightly at night and will make your photos look more natural.

Use the surrounding light for night shots (Source: Collected).
If you're shooting on your phone, skip the flash and use portrait mode, increase the exposure or switch to "night mode" so your subject's skin doesn't look dark.
Step 2: Check the direction of the light before you start
Backlighting and overexposure are common problems when shooting outdoors. With the right amount of light coming from the right direction, your photos will look more natural and you won't need to spend long editing.
The simplest approach is to watch where the sun is shining from. Generally, shooting with the light falling on your subject gives you the brightest, best-looking photos.
If you face the other way, your subject will be backlit, which happens most often with sunset shots.
Check the direction of the light before shooting (Source: Collected).
In the morning or late afternoon, you can use the sunlight in three ways:
-
Front light: the light falls on your model, ideal for a clear face and vibrant outfit colours.
-
Side light: let the light come in from the left or right at around 30 - 45 degrees. The gentle play of light and shadow on the face adds depth to the photo.
-
Backlight: place the sun behind your model, perfect for sunset shots, silhouettes or a glowing rim of light around the hair.
Depending on the setting, you can make either the person or the scenery the main subject.
Step 3: Choose outfits that suit Grand World's backdrops
Grand World isn't just modern architecture; it also has traditional Vietnamese settings. For a more varied photo collection, bring 2 - 3 outfits to match different backdrops.
Outfit 1: White, beige or pastel
These are the easiest outfits to work with at Grand World, giving a fresh, modern, youthful look. Neutral and pastel shades stand out against the colourful backgrounds without making the overall shot look too busy.
Women can go for a white dress, a pastel dress or a light-coloured linen set. Men can pair a white shirt with beige trousers, chinos or linen.
If you're travelling as a couple, you don't need to match. As long as your outfits stand out from different angles, your photos will always look great.
Outfit 2: Ao dai or traditional Vietnamese dress
The Bamboo Legend and Essence of Vietnam areas suit traditional outfits better. It's also a great way to contrast with your European-style shots in Venice.
You could choose:
-
Ao dai.
-
Ao tac.
-
Traditional Vietnamese dress.
-
Modernised outfits with traditional touches.
White, burgundy, pale yellow, jade green or brown tones blend easily with the architecture here.
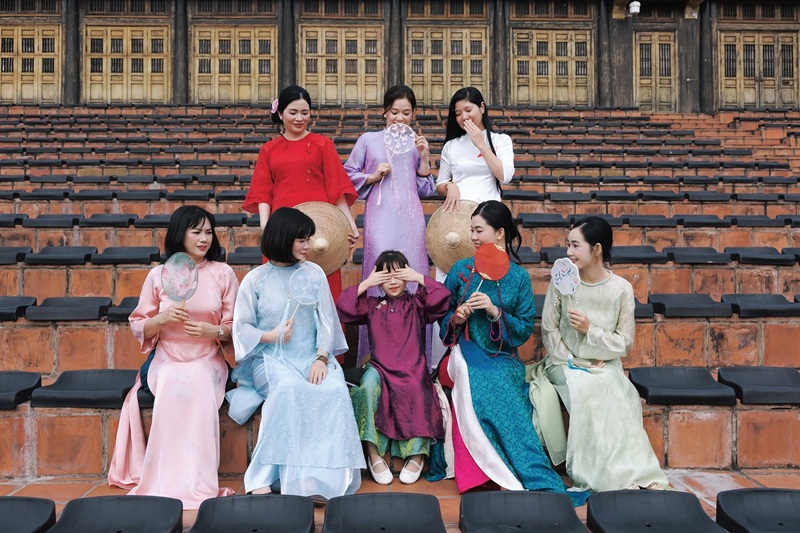
Checking in at Essence of Vietnam in traditional Vietnamese dress (Source: Photographer Pham Hong Sinh).
If you'd rather not change too often, just bring one traditional outfit for Bamboo Legend and Essence of Vietnam, then wear modern outfits for everywhere else.
Step 4: Bring just the right accessories
Accessories give your model an extra focal point and are especially helpful for anyone who tends to "freeze" in front of the camera. That said, pack them all in one handbag or, at most, a backpack so you can move around easily.
A few easy-to-use items worth bringing:
-
Sunglasses: great for daytime shots, and handy when strong sun makes it hard for your model to keep their eyes open.
-
Hats: a straw hat suits Venice and the shopping streets, while a baseball cap works well for a youthful look or for Urban Park.
-
Umbrella: it shades you from the sun and doubles as a prop for full-length shots. Choose a small one that folds away easily.
-
Handbag: go for a small bag with a simple design that matches your outfit.
-
Hand fan, book or cup of coffee: great for candid, everyday-style shots, and they give your hands something natural to do when you pose.

Accessories help you look more natural when posing (Source: Collected).
Step 5: Learn a few simple poses in advance
There's no need to memorise dozens of poses. A handful of basic moves will work at Grand World's check-in spots.
-
Walking shot: walk slowly and look off to the side rather than at the camera. Your photographer can switch on burst mode to catch the most natural moment.
-
Turn your body about 30–45 degrees: instead of facing the camera head-on, angle your shoulders slightly and put one foot forward for a slimmer silhouette.
-
Lean lightly on a railing: rest one hand on the railing and hold a bag or sunglasses in the other, or simply let it hang naturally. Ideal for shots in Venice and on the bridges.
-
Sitting at a café: hold your cup, gaze out at the river, read the menu or rest your chin on your hand. You don't have to look at the camera.
-
On a gondola: rest one hand on the side of the boat and look towards the buildings or straight ahead. Couples can look at each other or both gaze in the same direction.
-
With large landmarks: don't stand too close to the building. The photographer should step back and hold the camera slightly lower to capture both you and the architecture.
-
For longer-looking legs: hold the camera below waist height and tilt it slightly upwards. Don't go too low, though, as a wide angle can distort the body.
-
For streets with a sense of depth: shoot at an angle of about 45 degrees rather than straight on. Streets and rows of buildings receding into the background create a much deeper sense of space.

How to pose for photos at Grand World (Source: Collected).
When it gets crowded, switch to half-body shots, lower the camera angle, or use walls, railings and buildings as your background. There's no need to wait until the whole area is empty before you start shooting.
Step 6: Choose the right gear
You don't need a professional camera to take great photos at Grand World. If you're posting to Facebook, Instagram or TikTok, or just keeping memories of your trip, a phone with a good camera will handle most situations.
Before you go, you might want to pack:
-
Phone: ideally one with a wide-angle lens, HDR, Portrait mode and Night mode. Wipe the lens clean before shooting: it's a small step, but it makes a noticeable difference to how sharp your photos look.
-
Camera: worth bringing if you want to do concept shoots or portraits with a blurred background, or need high-quality images to edit after your trip.
-
Mini tripod: handy whether you're in a group or travelling solo, or if you want night shots with no one to hold the camera.
-
Gimbal: not essential for still photos, but very useful if you also want to shoot videos or vlogs.
-
Power bank: a must if you plan to shoot from afternoon into the evening, as filming, keeping the camera on and using maps nonstop will drain your battery fast.
-
Lens cloth: especially useful when you're outdoors or near the coast.
-
Storage: check the space on your phone and memory card before you go so you don't end up deleting photos in the middle of your shoot.

Our team of tour guides and tour operators lives right here in Phu Quoc, and we write our guides from the very trips we've led: ticket prices, itineraries and hands-on tips, updated every month.
Related articles
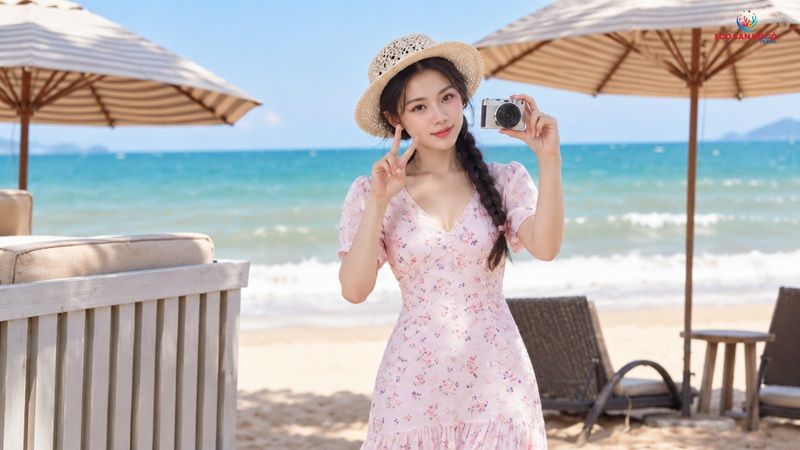
What to Wear on a Phu Quoc Island Tour? 10 Outfit Ideas for Picture-Perfect Photos
A guide to choosing stylish, comfortable outfits for your Phu Quoc island tour. Outfit ideas for men and women, so you can pose for those Insta-worthy…
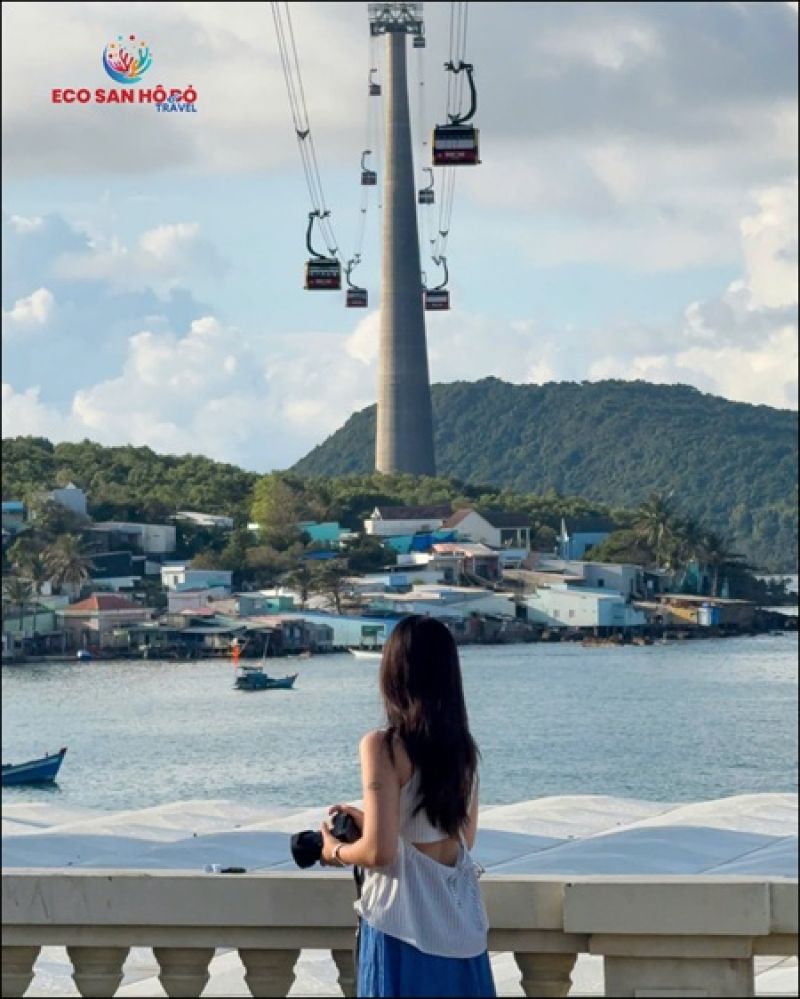
Island Tour with Cable Car or DIY Hon Thom Tickets: Which Should You Choose?
How does a speedboat island tour combined with the Cable Car compare with buying your own cable car tickets? Should you combine or separate these two…
How to Choose a Reputable Tour Company in Phu Quoc and Avoid "Cheap Price" Traps
The key criteria for choosing a reputable tour company in Phu Quoc, so you don't lose money to cheap-price traps